
How to Use an LED Face Mask at Home (A Beginner’s Guide)
When I first turned it on, I thought I’d need a degree in dermatology to figure it out.
When I bought my LED face mask, I was excited… until I opened the box.
There were multiple light colors, different treatment times, and very little guidance on where to begin. If you’ve had the same experience, you’re not alone.
The good news is that it isn’t nearly as complicated as it looks. Once you understand what each light is for, choosing a routine becomes much easier.
This guide covers everything I wish I had known before my first session.
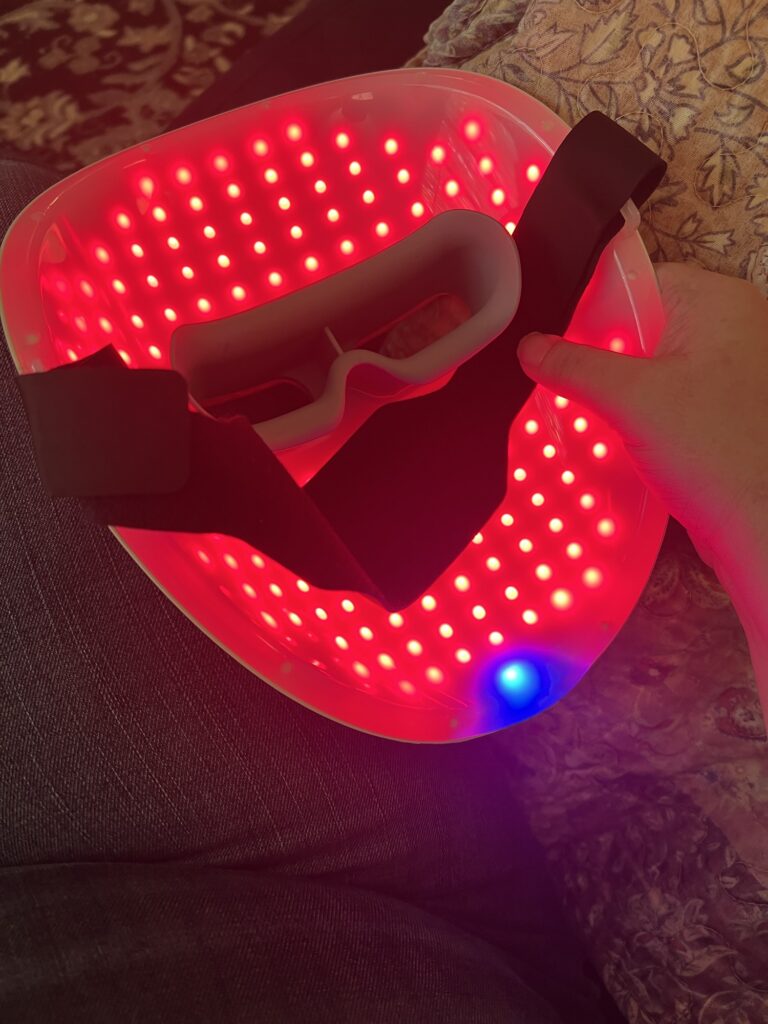
What Is an LED Face Mask?
LED (Light Emitting Diode) therapy uses different wavelengths of light to target specific skin concerns. Unlike UV light, LED therapy does not tan or burn your skin. Instead, different colors penetrate to different depths to support your skin in different ways.
If you’re still shopping and wondering whether an LED face mask can be purchased with FSA or HSA funds, I put together a separate guide on whether LED face masks are FSA/HSA eligible and what to check before buying.
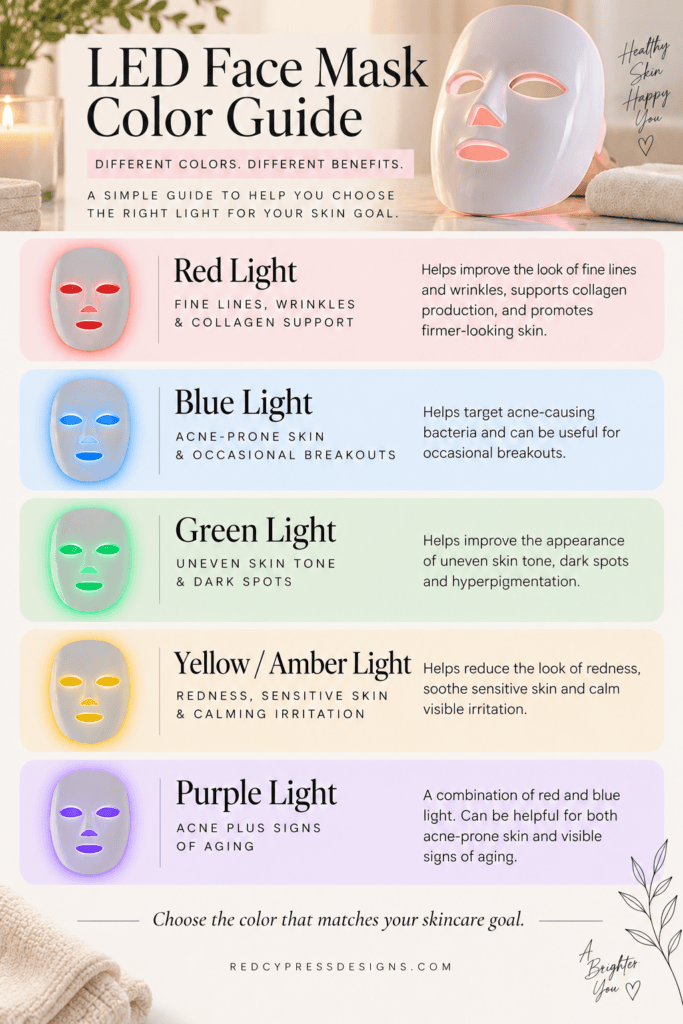
What Does Each LED Light Color Do?
Red Light
Best for:
- Fine lines
- Wrinkles
- Collagen support
- Firmer-looking skin
If you’re only going to use one setting, this is usually the best choice for general anti-aging and overall skin health.
Blue Light
Best for:
- Acne-prone skin
- Occasional breakouts
Blue light is commonly used to target acne-causing bacteria and may help reduce future breakouts.
Green Light
Best for:
- Uneven skin tone
- Dark spots
- Hyperpigmentation
Research is still developing, but many people use green light to help brighten their complexion.
Yellow (Amber) Light
Best for:
- Redness
- Sensitive skin
- Calming irritation
Purple Light
Purple light is typically a combination of red and blue light, making it a popular choice for people looking to address both acne and signs of aging.
How Long Should You Wear an LED Face Mask?
Most manufacturers recommend sessions lasting 10 to 20 minutes.
If you’re new to LED therapy:
- Start with 10 minutes.
- Increase to 15–20 minutes as you become comfortable.
More isn’t always better. Consistency is far more important than longer sessions.
How Often Should You Use It?
While results aren’t instant, consistent use over several weeks may help improve your skin’s appearance.
A beginner schedule could look like this:
Week 1–2
- 3 sessions per week
- 10–15 minutes each
After Week 2
- 4–5 sessions per week
- 15–20 minutes each
Many people begin noticing gradual improvements after several weeks of regular use.
How to Use an LED Face Mask
Once you understand what each light does, using the mask is actually pretty simple. Here’s the routine most beginners can follow.
- Wash your face with a gentle cleanser.
- Pat your skin dry.
- Choose the light setting that matches your skincare goal.
- Relax while wearing the mask for the recommended time.
- Apply a hydrating serum or moisturizer afterward.
- Wear sunscreen every morning if you’re using your mask as part of an anti-aging routine.
Beginner Tip
If you’re new to LED therapy, introduce one new product at a time. That way, if your skin becomes irritated, it’s much easier to figure out what caused it.
Common Beginner Mistakes
Expecting overnight results
LED therapy works gradually. Most people need several weeks of consistent use before noticing improvements.
Using the mask only once every few weeks
Like exercise, consistency usually matters more than intensity.
Choosing random light colors
Start with the setting that matches your skincare goal instead of switching modes every session.
Forgetting sunscreen
If you’re using red light to improve the appearance of your skin, protecting it from UV exposure is just as important.
Not cleaning the mask
A quick wipe after each use helps keep the mask clean, especially if you’ve applied skincare beforehand.
How to Store an LED Face Mask
LED face masks can be a little awkward to store because they’re larger than most skincare tools, and some flexible masks can crease if they’re shoved into a drawer.
When I’m finished using mine, I make sure it’s clean and completely dry before putting it away. I’d also avoid folding or sharply bending a flexible silicone mask unless the manufacturer specifically says it’s okay.
A few easy storage options:
- Keep it in the case or pouch it came with.
- Lay it flat in a bathroom drawer or cabinet.
- Store the controller and charging cord with the mask so everything stays together.
- Keep it away from direct sunlight, heat, and moisture.
- If you use it regularly, give it an easy-to-reach spot so it doesn’t become one of those skincare devices you forget you own.
If your mask has specific storage instructions, always follow the manufacturer’s recommendations first.
Is an LED Face Mask Worth It?
If you’re looking for gradual improvements and are willing to use it consistently, an LED face mask can be a useful addition to your skincare routine.
It’s not a replacement for sunscreen or a healthy skincare routine, but it may complement them over time.
The biggest factor is consistency. A 15-minute routine several times each week is likely to be more effective than using it once a month.
More Health Articles & Guides



More Practical Guides & Ideas


My Red Light Mask

As an Amazon Associate, I earn from qualifying purchases.
Why I Bought an LED Face Mask
I kept seeing LED face masks everywhere, especially FSA-eligible models. The idea sounded great, but when mine arrived, I honestly wasn’t sure where to start. There were multiple light modes, adjustable intensity levels, and a remote with more buttons than I expected.
If you’re feeling the same way, you’re in the right place. This is the beginner routine I’m using as I learn what each setting does.
The Modes I am Using
Mode 1: Red + Infrared (845–855 nm)
- Designed for full-face wrinkle treatment.
- If you’re interested in collagen support and overall skin rejuvenation, this is the mode I’d use most often.
Mode 2: Red Light (650–655 nm)
- Targets wrinkles, particularly around the eyes.
- Nice if you want a red-only treatment, but I’d probably still choose Mode 1 because it includes infrared.
Mode 3: Blue Light
- For mild to moderate acne.
- I’d only use this if you’re actively dealing with breakouts.
Mode 4: Pink (Red + Blue)
- A combination for people wanting anti-aging and acne treatment at the same time.
How I’m Starting
For your first week, I’m keeping it simple:
| Setting | Recommendation |
|---|---|
| Mode | Mode 1 (Red + Infrared) |
| Intensity | Medium (about halfway) |
| Time | 10–15 minutes |
| Frequency | 3 times per week |
My routine will be:
- Wash your face.
- Dry your skin completely.
- Select Mode 1 (Red + Infrared).
- Increase the timer to 10 minutes.
- Put the mask on, close your eyes, and relax.
- Apply a moisturizer afterward.
After a week or two, you can increase to 15–20 minutes if your skin tolerates it well.
If everything feels comfortable after a week or two, you could increase to:
- Full intensity
- 15–20 minutes
- 4–5 sessions per week
There’s no evidence that cranking the intensity to the maximum on day one gives better results. Building up gradually is a sensible approach, especially if you have sensitive skin.
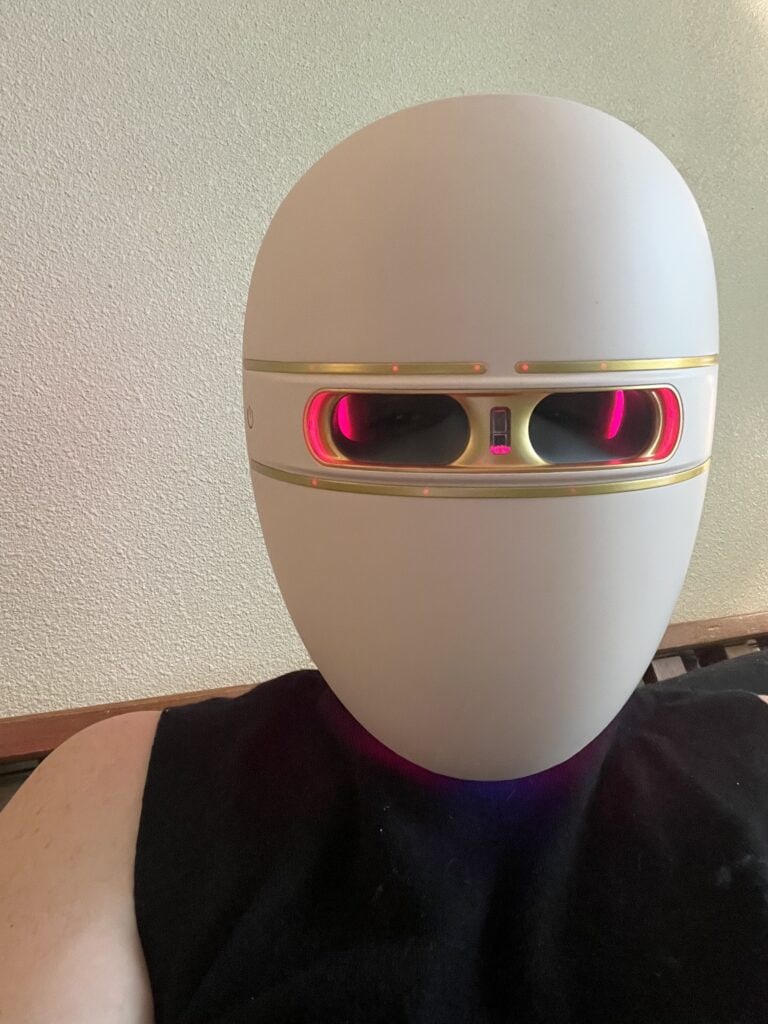
My Experience
I chose Mode 1 (Red + Infrared) because my main goal is supporting collagen and reducing the appearance of fine lines. For my first week, I’m using medium intensity for 10–15 minutes three times per week.
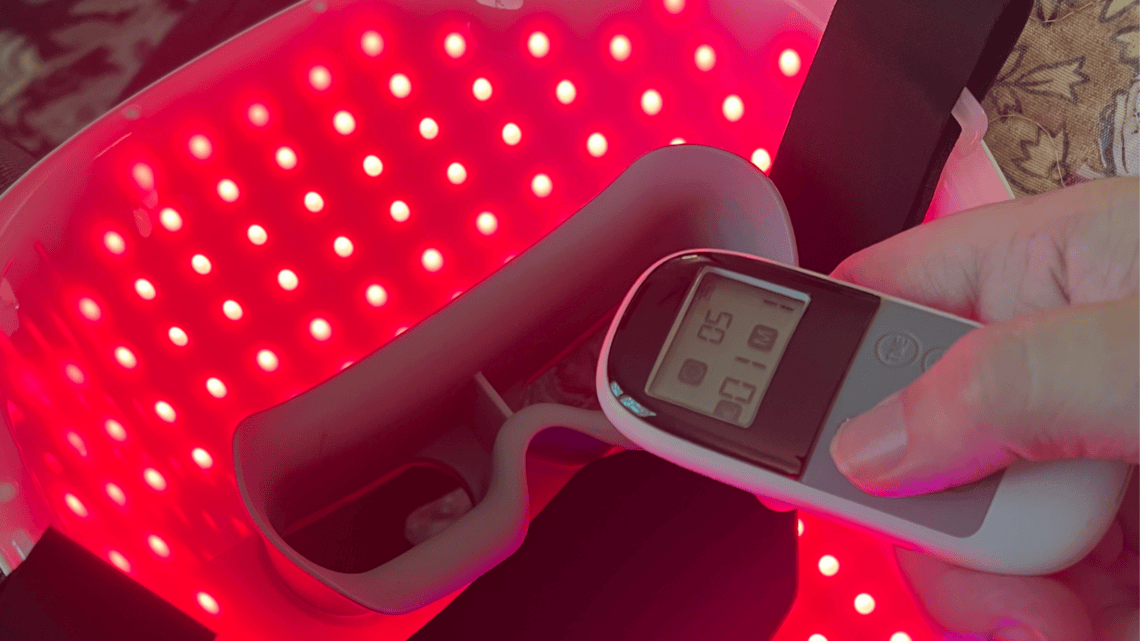
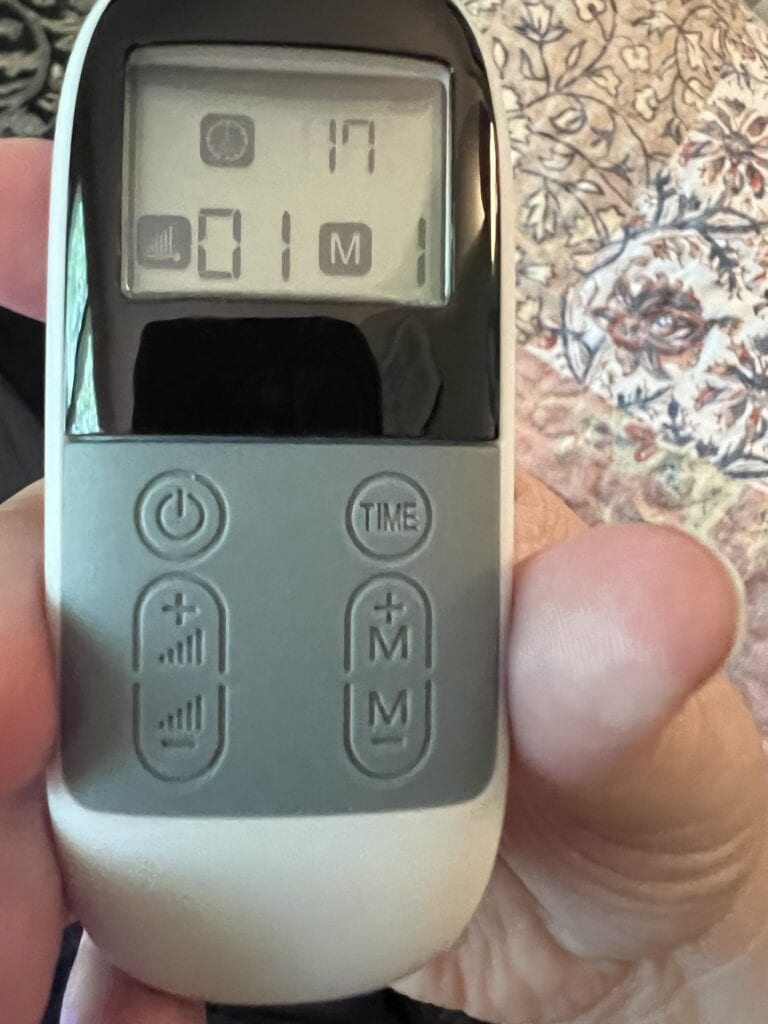
Understanding the Remote (It’s Easier Than It Looks)
When I first picked up the remote, I assumed I’d have to memorize a bunch of settings. Thankfully, there are really only four things you need to know:
- Time adjusts how long each session lasts.
- Mode switches between the four light therapy programs.
- Intensity lets you make the LEDs brighter or dimmer.
- Power turns the mask on and off.
Once I figured that out, using the mask became much less intimidating.
Products I Use With My LED Mask
These are the products I’m currently using alongside my LED face mask. Some are products I personally use, while others are well-reviewed recommendations that fit this routine.
Avoid using strong exfoliating acids or retinoids immediately before treatment unless your dermatologist recommends otherwise.
Read my My Simple Skincare Routine
Disclaimer: As an Amazon Associate, I earn from qualifying purchases.

Cay Skin Mo’Bay Mineral Sunscreen Drops SPF 30
Daily sunscreen is one of the best ways to protect the results you’re working toward with red light therapy.
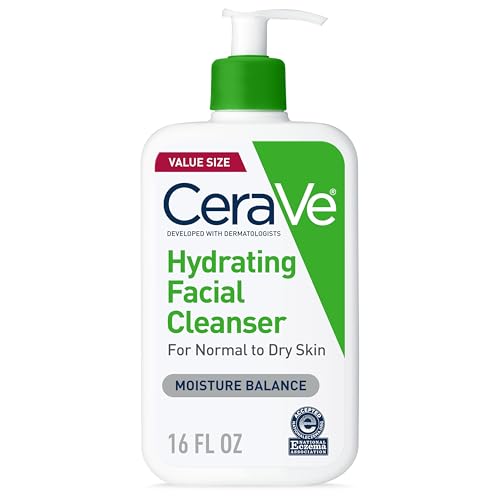
CeraVe Hydrating Facial Cleanser, Moisturizing Face Wash
A gentle cleanser to start each LED session with clean, hydrated skin.
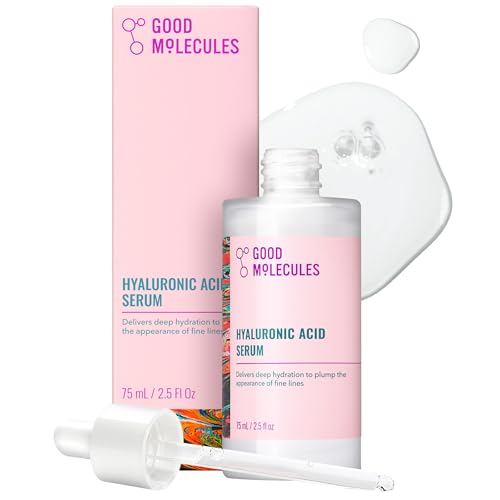
Good Molecules Hyaluronic Acid Serum
I like applying a hydrating serum after my LED session to help lock in moisture.

Soft microfiber face towels
A soft towel is an easy way to dry your face without being too rough on freshly cleansed skin.
My Results
Week 1
Learning the routine and getting comfortable with the settings.
Week 4
(Coming soon)
Week 8
(Coming soon)
Frequently Asked Questions
Can I use an LED face mask every day?
Many manufacturers allow daily use, but most beginners do well with three to five sessions per week.
How long does it take to see results?
Most people need several weeks of consistent use before noticing changes.
Can I wear makeup while using an LED mask?
No. Always begin with clean skin.
Should I wash my face before using an LED mask?
Yes. Start with a clean face by washing away makeup, sunscreen, and excess oil. Clean skin allows the light to reach your skin without products getting in the way. Pat your skin dry before putting on the mask.
Do I use skincare before or after an LED face mask?
Most people use their skincare after the session. Once you’ve finished, apply hydrating products like a hyaluronic acid serum, peptide serum, or moisturizer to help lock in hydration. If you’re using your mask during the day, finish with sunscreen before heading outside.
Which LED color is best for beginners?
If you’re not sure where to start, red light is usually the easiest choice. It’s commonly used to support collagen production and improve the appearance of fine lines and wrinkles. If your mask includes red + infrared, that’s often a great all-around option for beginners. Blue light is generally chosen for acne-prone skin, while other colors target more specific concerns.
Can I switch colors during the same session?
Yes, many LED masks allow you to switch between light colors during a treatment. Some people use different colors for different skin concerns, while others stick with one setting each session. If you’re just starting out, it’s often easier to choose one color based on your main goal and stay consistent for several weeks before experimenting.
Lisa Thompson
 Hi, I'm Lisa, a software engineer, photographer, and creator behind Redcypress Designs. I share practical home solutions, beginner-friendly juicing tips, cozy living ideas, Pinterest experiments, and products that solve real everyday problems. Most of the projects, recipes, and reviews on this site come from my own experiences, testing, and occasional mistakes.
You May Also Like

FSA & HSA Wellness Tools: Practical Picks for Everyday Health
What to Buy With Your FSA Before It Expires: Useful Things You’ll Use